Creating an Application
The fastest way to create an application is to copy an existing example. Below, we will explain how to create a new application based on the hello_world example.Here, the Windows platform is used as an example; the approaches for macOS and Linux are analogous.
Copy the Example
Copy the example: Copy the
example/get-started/hello_world/rttdirectory to any desired location, such asc:\work\ws\hello_world.
The directory structure of the application:
+---project                // Project directory
|       Kconfig
|       Kconfig.proj
|       proj.conf          // Project configuration file
|       rtconfig.py
|       SConscript
|       SConstruct
|
\---src                    // Source code directory
        main.c
        SConscript
Open the PowerShell command line window: Press the Win key or click the Windows icon on the lower left corner, type “powershell”, and then open the PowerShell terminal.
Set environment variables:
cd c:\OpenSiFli\SiFli-SDKto switch to the root directory of the SDK, and then enter.\export.ps1.The path used here is just an example. The actual path should be based on the user’s local directory.Change to the project directory:
cd c:\work\ws\hello_world\projectto switch to the copied example project directory.Compile:
scons --board=sf32lb52-lcd_n16r8 -j8. The selected board issf32lb52-lcd_n16r8, refer to supported_boards/index.md.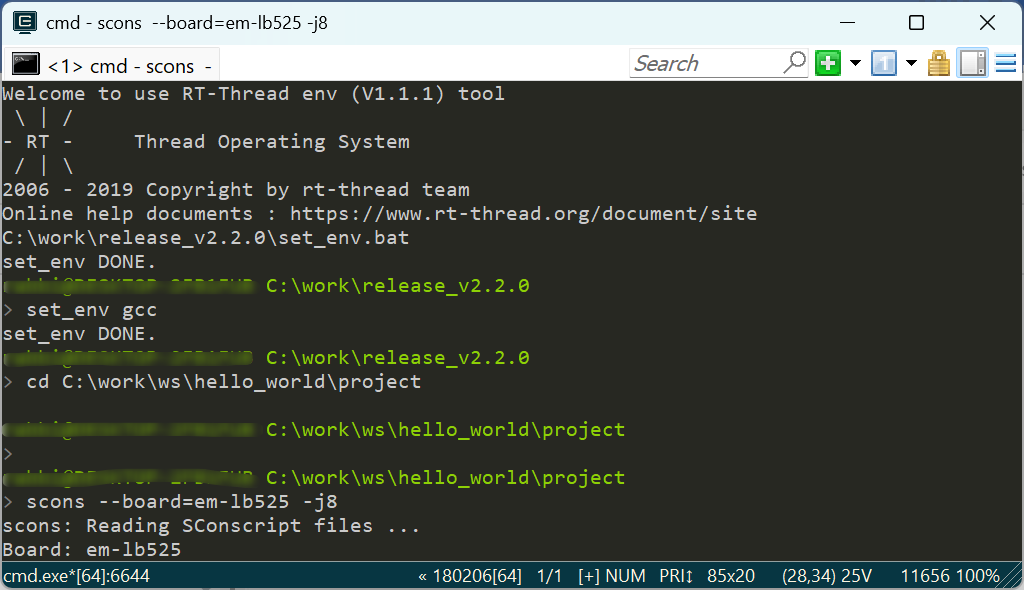 `
`Flash:
build_sf32lb52-lcd_n16r8_hcpu\uart_download.
At this point, a new hello_world program has been created, and the compilation and flashing methods for the new project are identical to those of the SDK’s built-in examples.
Modify the Code
The application code for hello_world is in the src/main.c file, where you can see that it prints “Hello world” only once on line 5.
 1int main(void)
 2{
 3    rt_thread_mdelay(3000);
 4    /* Output a message on console using printf function */
 5    rt_kprintf("Hello world!\n");
 6
 7    /* Infinite loop */
 8    while (1)
 9    {
10    }
11    return 0;
12}
Now, add the following two lines between lines 10 and 11 to print “Hello SiFli” every 3 seconds.
 1int main(void)
 2{
 3    rt_thread_mdelay(3000);
 4    /* Output a message on console using printf function */
 5    rt_kprintf("Hello world!\n");
 6
 7    /* Infinite loop */
 8    while (1)
 9    {
10        rt_kprintf("Hello SiFli!\n");
11        rt_thread_mdelay(3000);
12    }
13    return 0;
14}
After modifying the code, compile and download the program. Connect the serial port debugging tool, reset the device, and you will see the printed output as shown in the image.

In addition to adding code in main.c, you can also add C files in the src directory. Since the SConscript in the src directory already uses the Glob command to include all C files in the current directory for compilation, you can simply add your new C files. For more details on using Scons scripts, refer to SCons.md.
import os
from building import *

# Add source code
src = Glob('*.c')
group = DefineGroup('Applications', src, depend = [''])

Return('group')
Modify Settings
The hello_world example only has basic print functionality, and many components are not enabled. Even if you include the headers for these components in main.c, their corresponding functions cannot be called unless you modify the project configuration using the menuconfig tool.
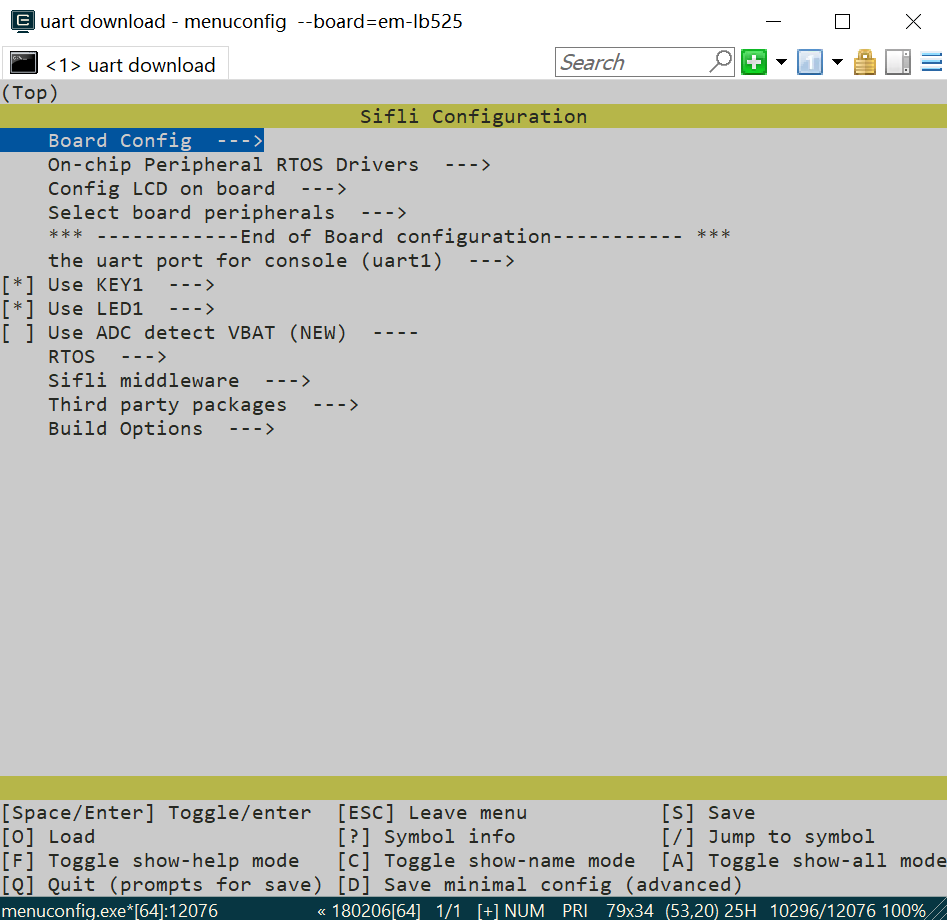
To modify the configuration, run sdk.py menuconfig --board=<board_name> in the project directory. Replace <board_name> with the name of the board you are using, such as sdk.py menuconfig --board=sf32lb52-lcd_n16r8. This is similar to specifying the board during scons compilation. By default, hcpu is used, meaning that sdk.py menuconfig --board=sf32lb52-lcd_n16r8 and sdk.py menuconfig --board=sf32lb52-lcd_n16r8_hcpu will have the same effect, both configuring the current project for the sf32lb52-lcd_n16r8 board’s HCPU.
After executing menuconfig, a screen like the following will appear. You can use the ⇧ and ⇩ arrow keys to navigate between menu items, press Enter to enter submenus, and press Space to select menu items. Once all changes are complete, press D to save the minimal configuration to the proj.conf file in the project directory (project\proj.conf). This file is a text file and can be opened to view the differences before and after modifications. For detailed usage of menuconfig, refer to menuconfig.md.
 `
`
For more detailed information on configuration and compilation mechanisms, please read build_and_configuration.md.